Self Assemble Frames
If you would like to purchase one of our custom floater frames in a stock moulding online, please visit https://floaterframes.ca/
If you would like a profile that is not listed on floaterframes.ca, please contact us through this website!
Any of the frames below can be shipped disassembled with all necessary hardware for you to put together at home. This method is most suitable for floater frames for canvases but many other profiles not listed can be made into self-assemble frames. We can also ship acrylic glazing, mats, and backing board to go along with your frame!
Mouldings not listed below that are available from our favourite suppliers can also be used. Please see floater frames available from Roma and Fotiou for more options.
Please watch this video for instructions on how to properly join your frames.
Click here to request a quote, or here for an instant estimate.
Want to see more options or have a custom profile made? Visit our studio to discuss the endless possibilities!
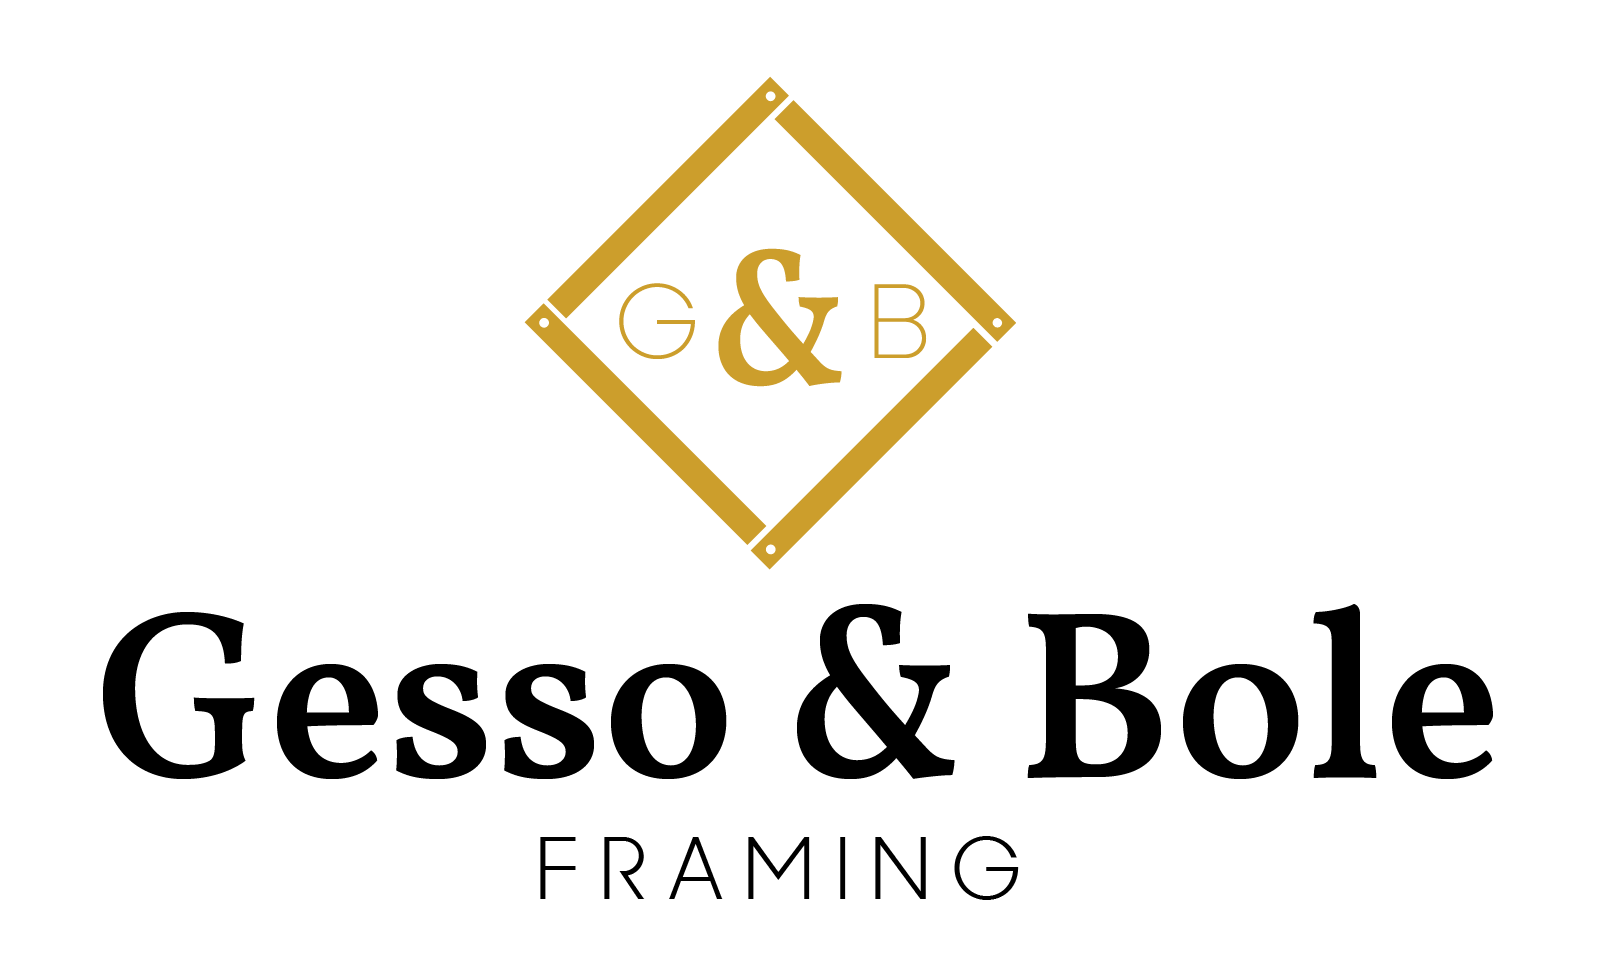
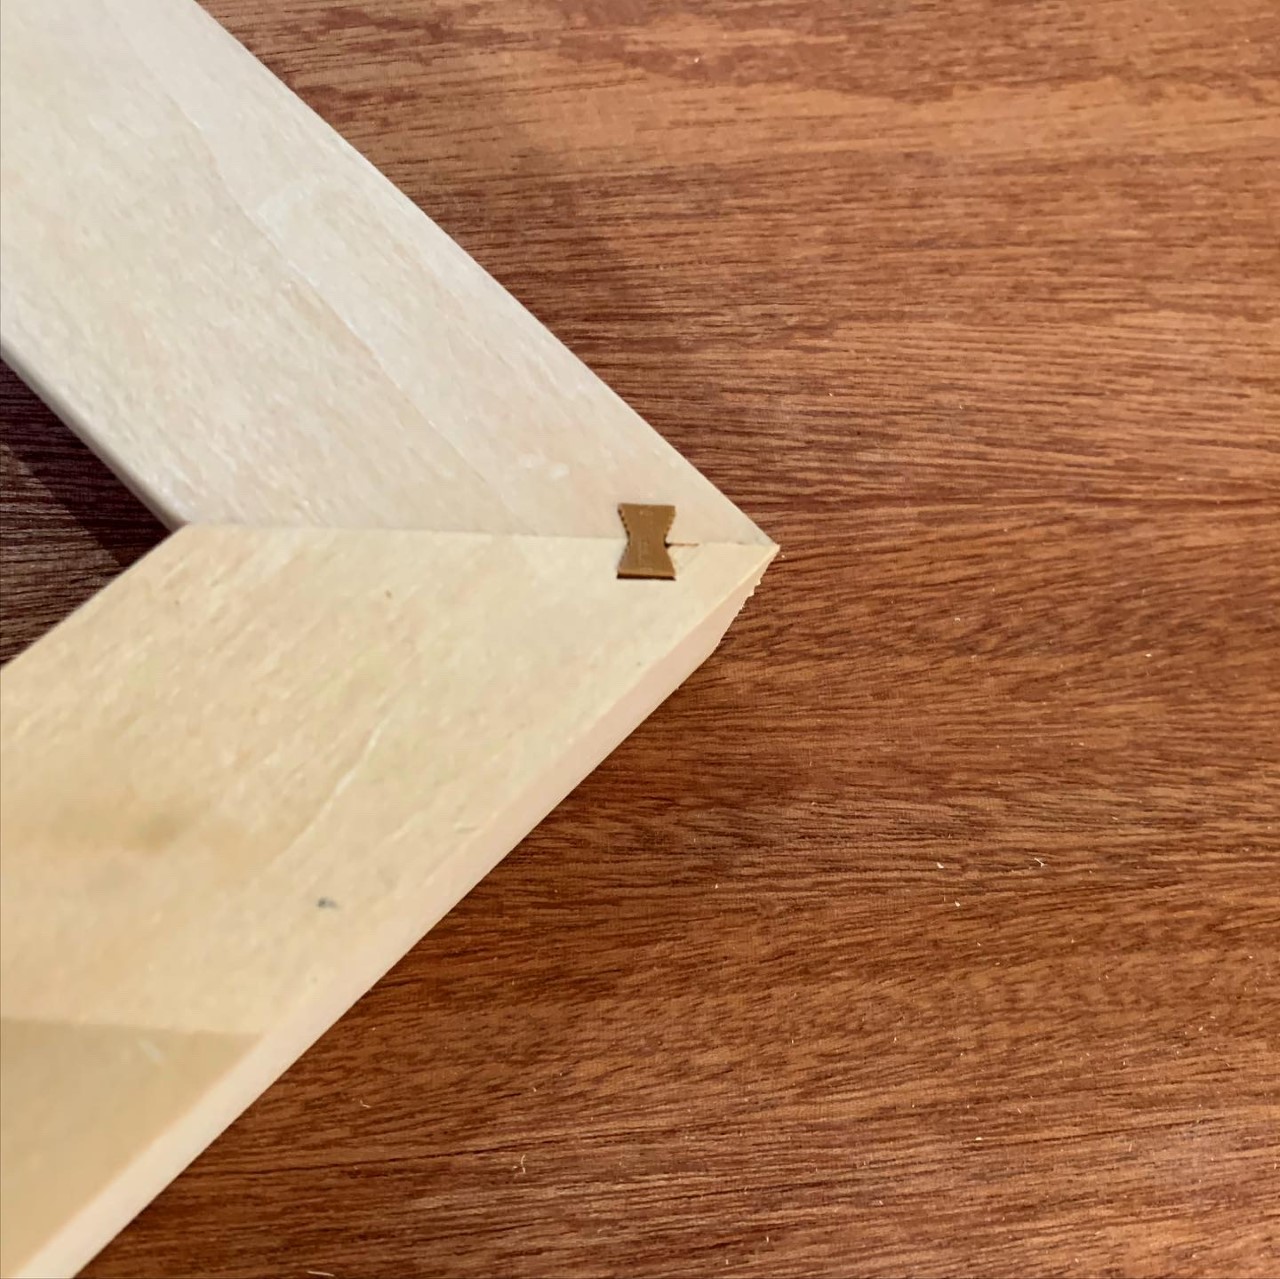
Slots and Keys
The frames will arrive with routed slots as well as brown keys that fit in these slots to keep the frame together.
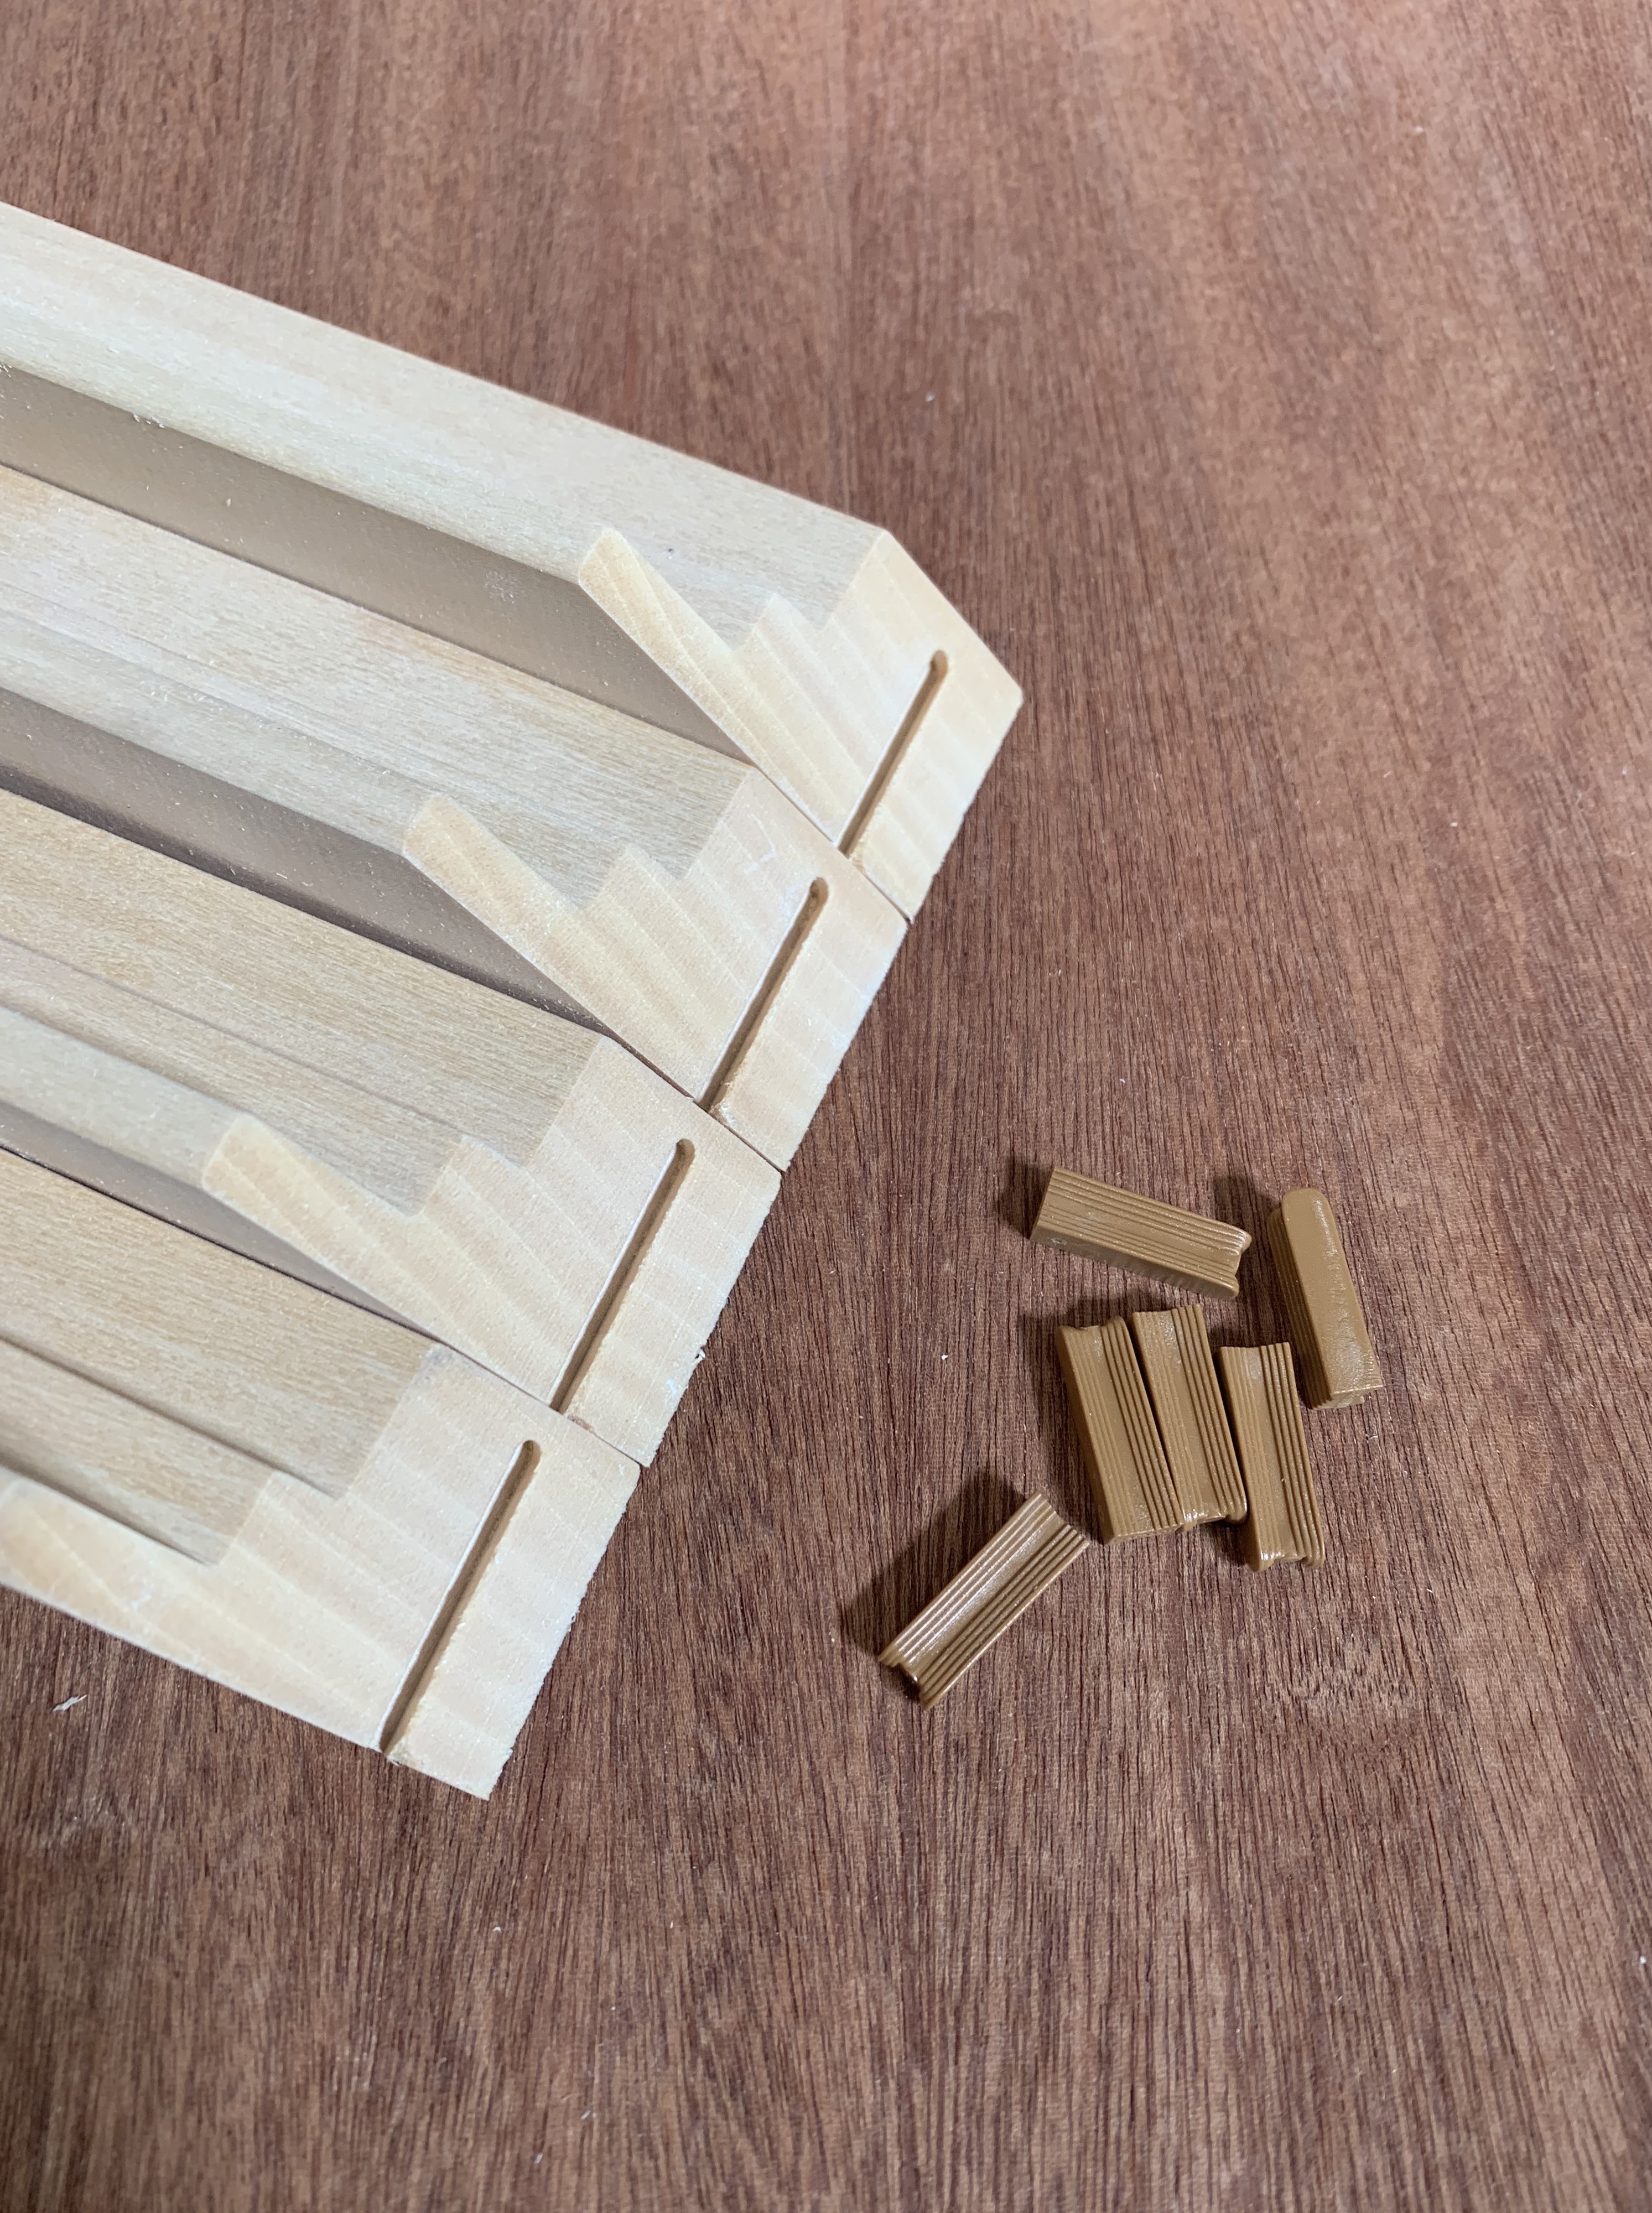
Insert Keys
On a flat surface, lay out the frame upside down with the long and short sides parallel. Add glue to the edges of the shortest sides and insert the keys one by one by hand until the frame is together.
Keys inserted by hand
When all keys are inserted as far as you can put them in by hand, hammer the keys in until they are in as far as they can go.
Close up full in
Once keys are hammered in, make sure the corner lines up correctly and the top of the joint is flush. You may have to gently hammer one side to achieve this.
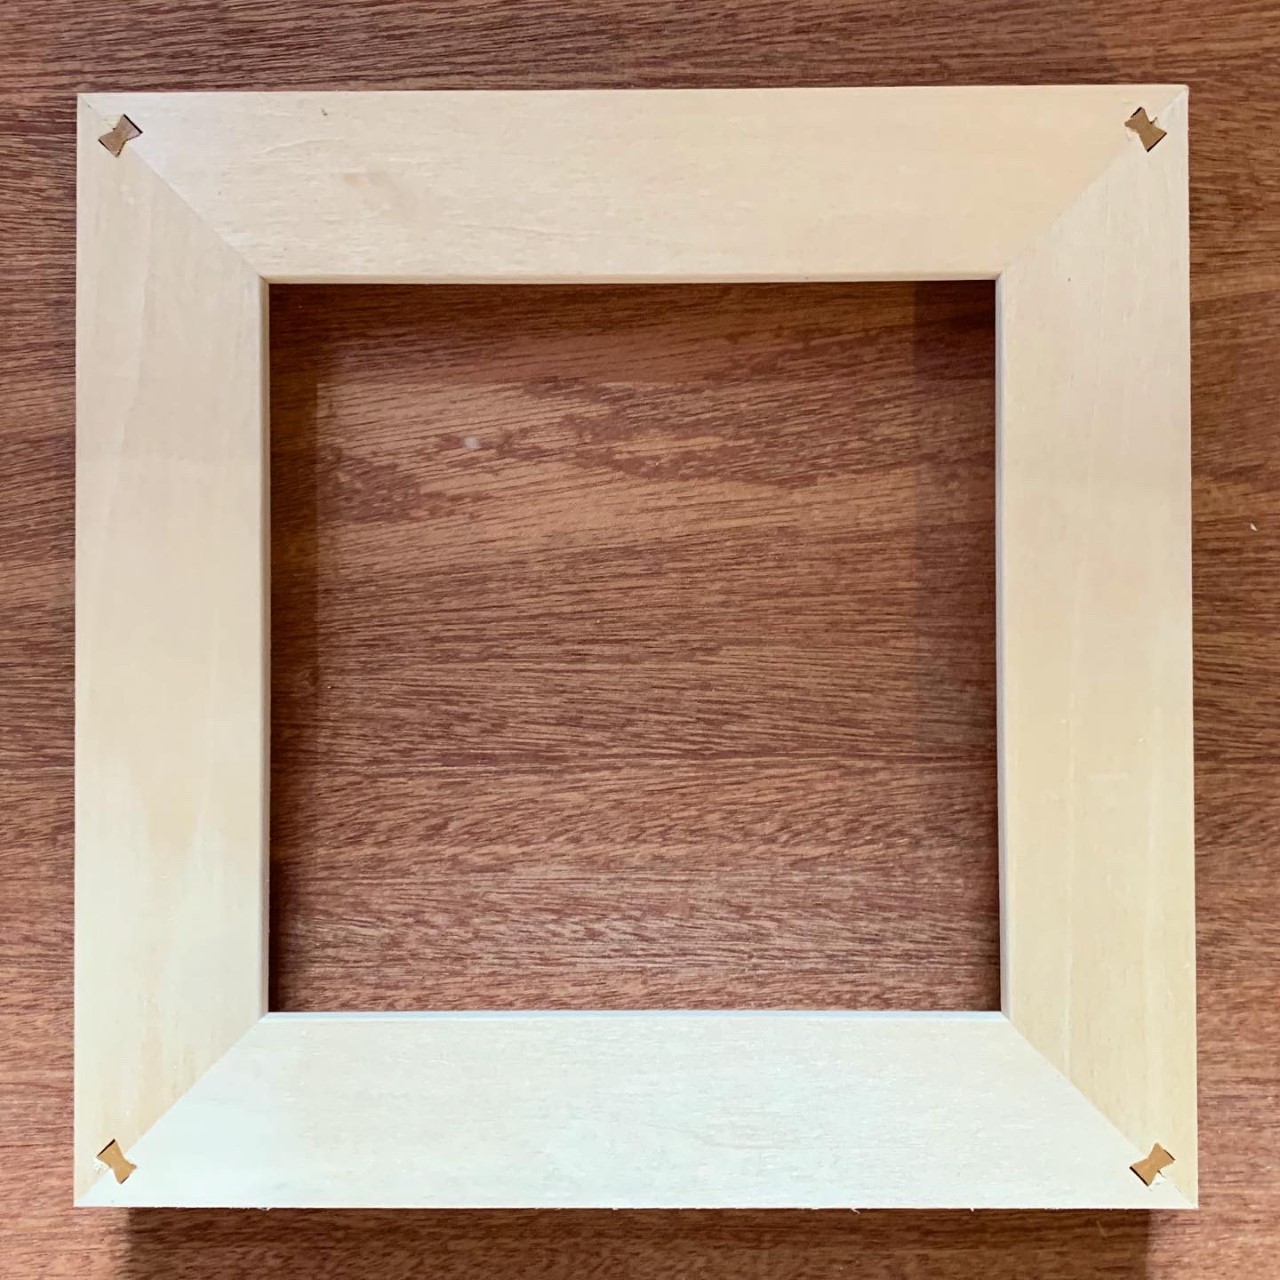
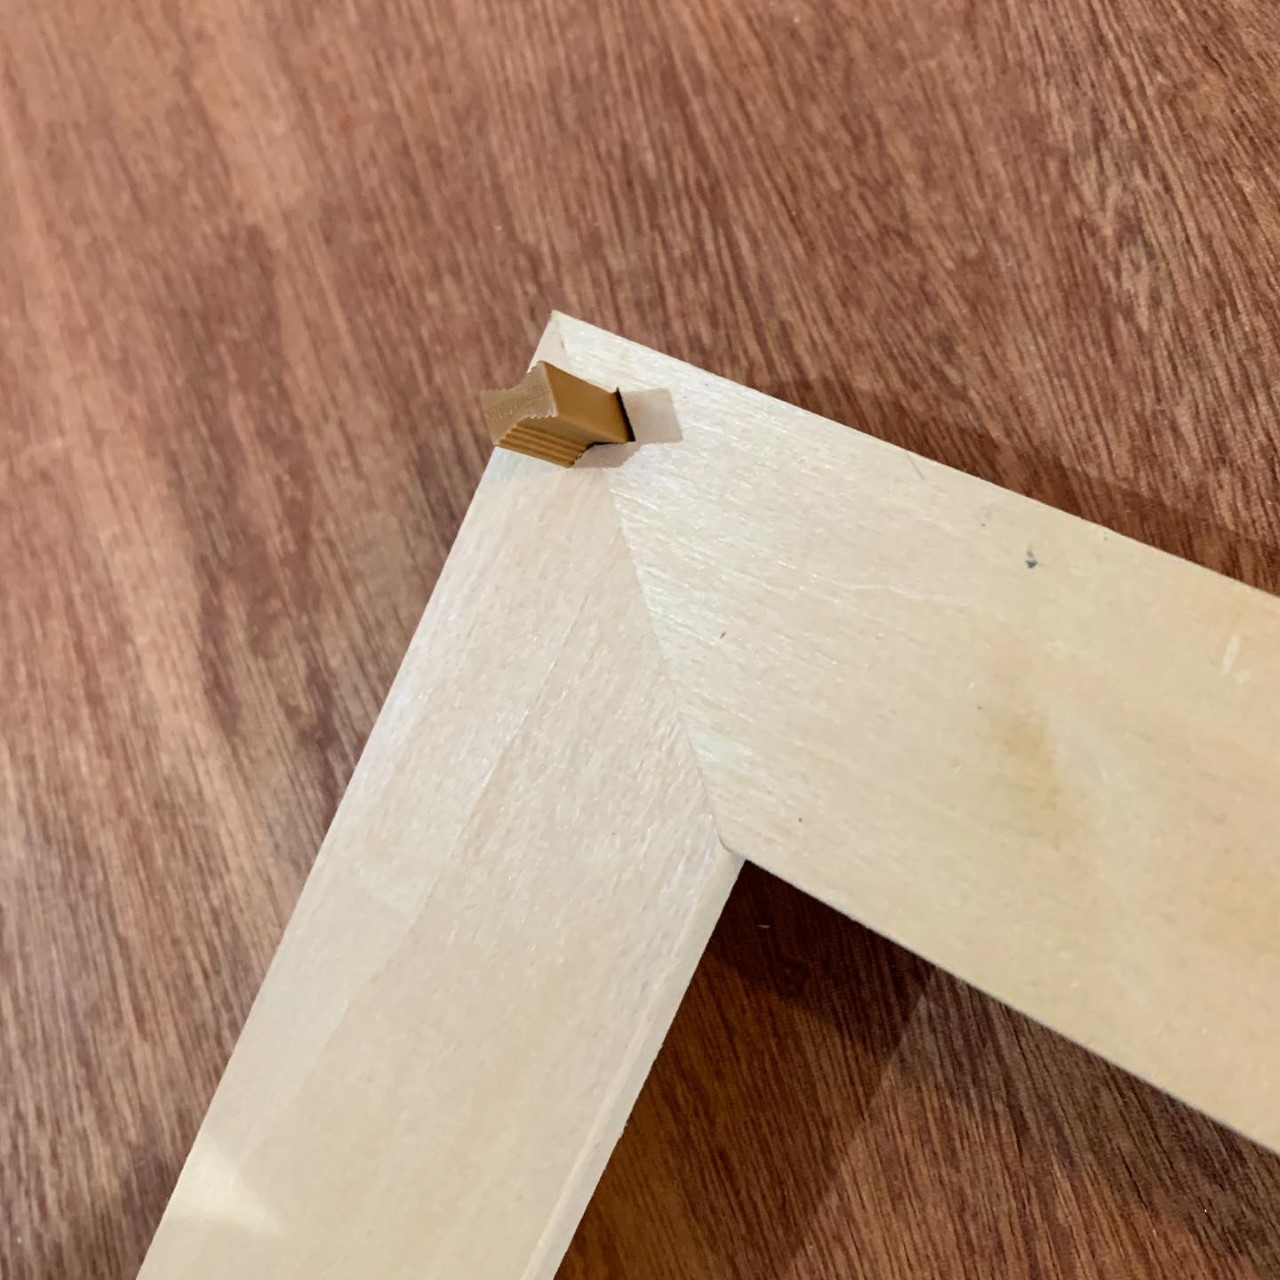
Back full
On deeper frames, multiple keys may be required to be inserted on top of each other. If the keys are slightly too long and are not flush with the back of the frame, trim off the excess with a saw or a knife.
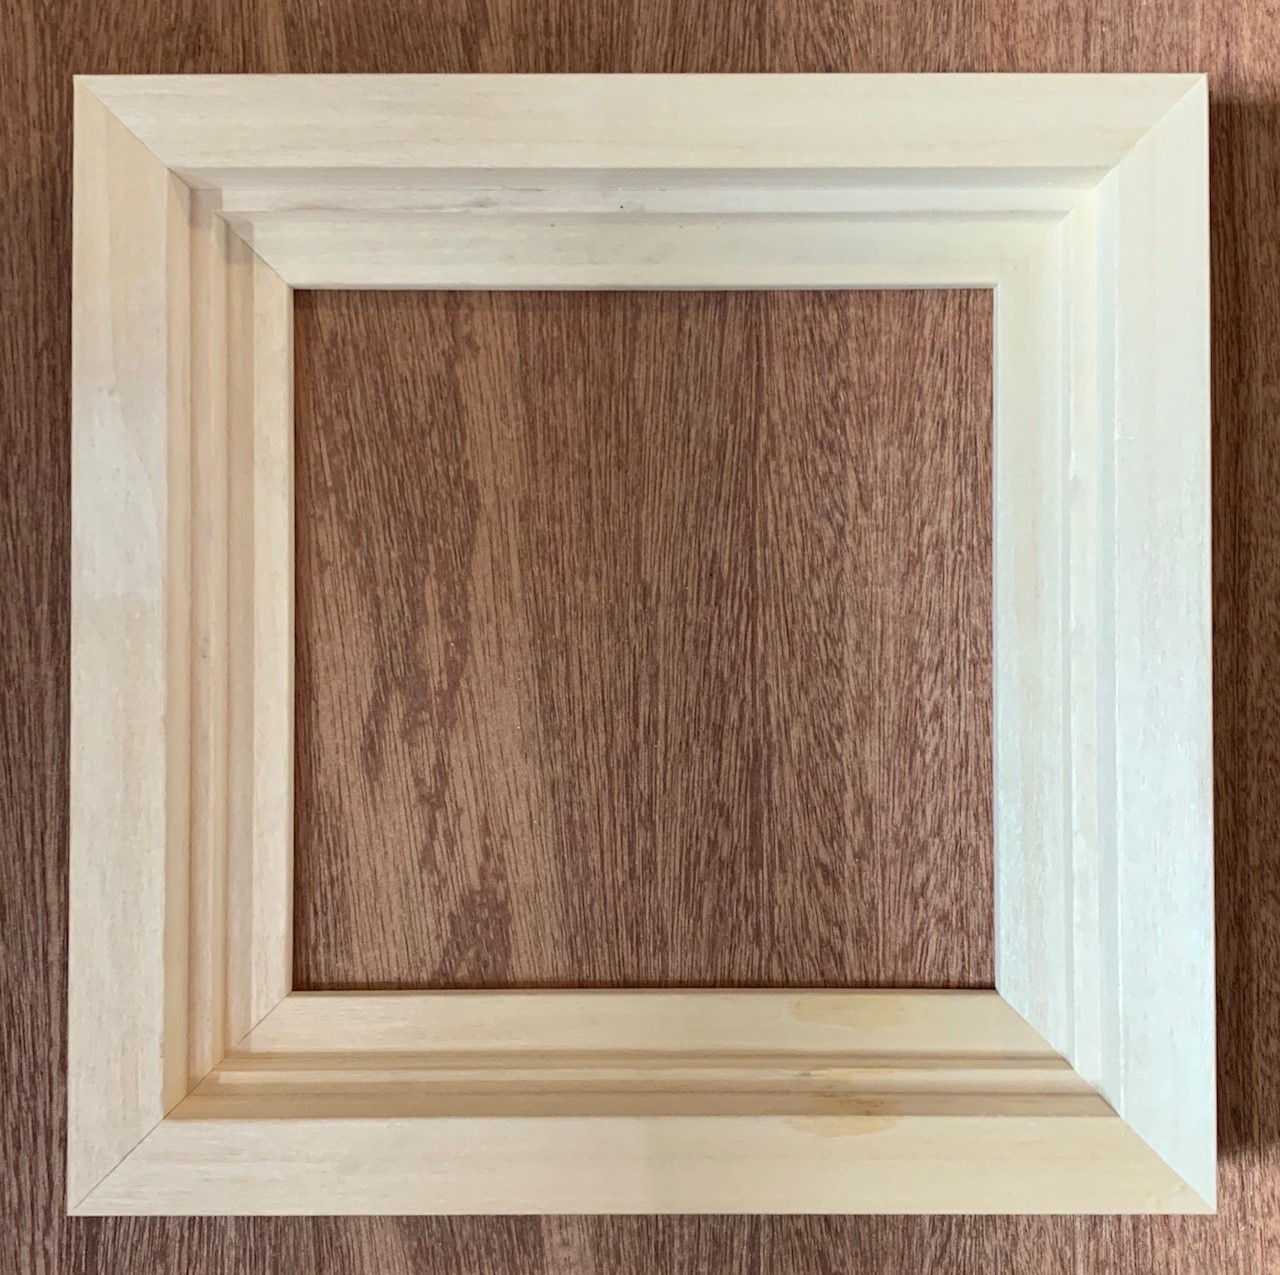
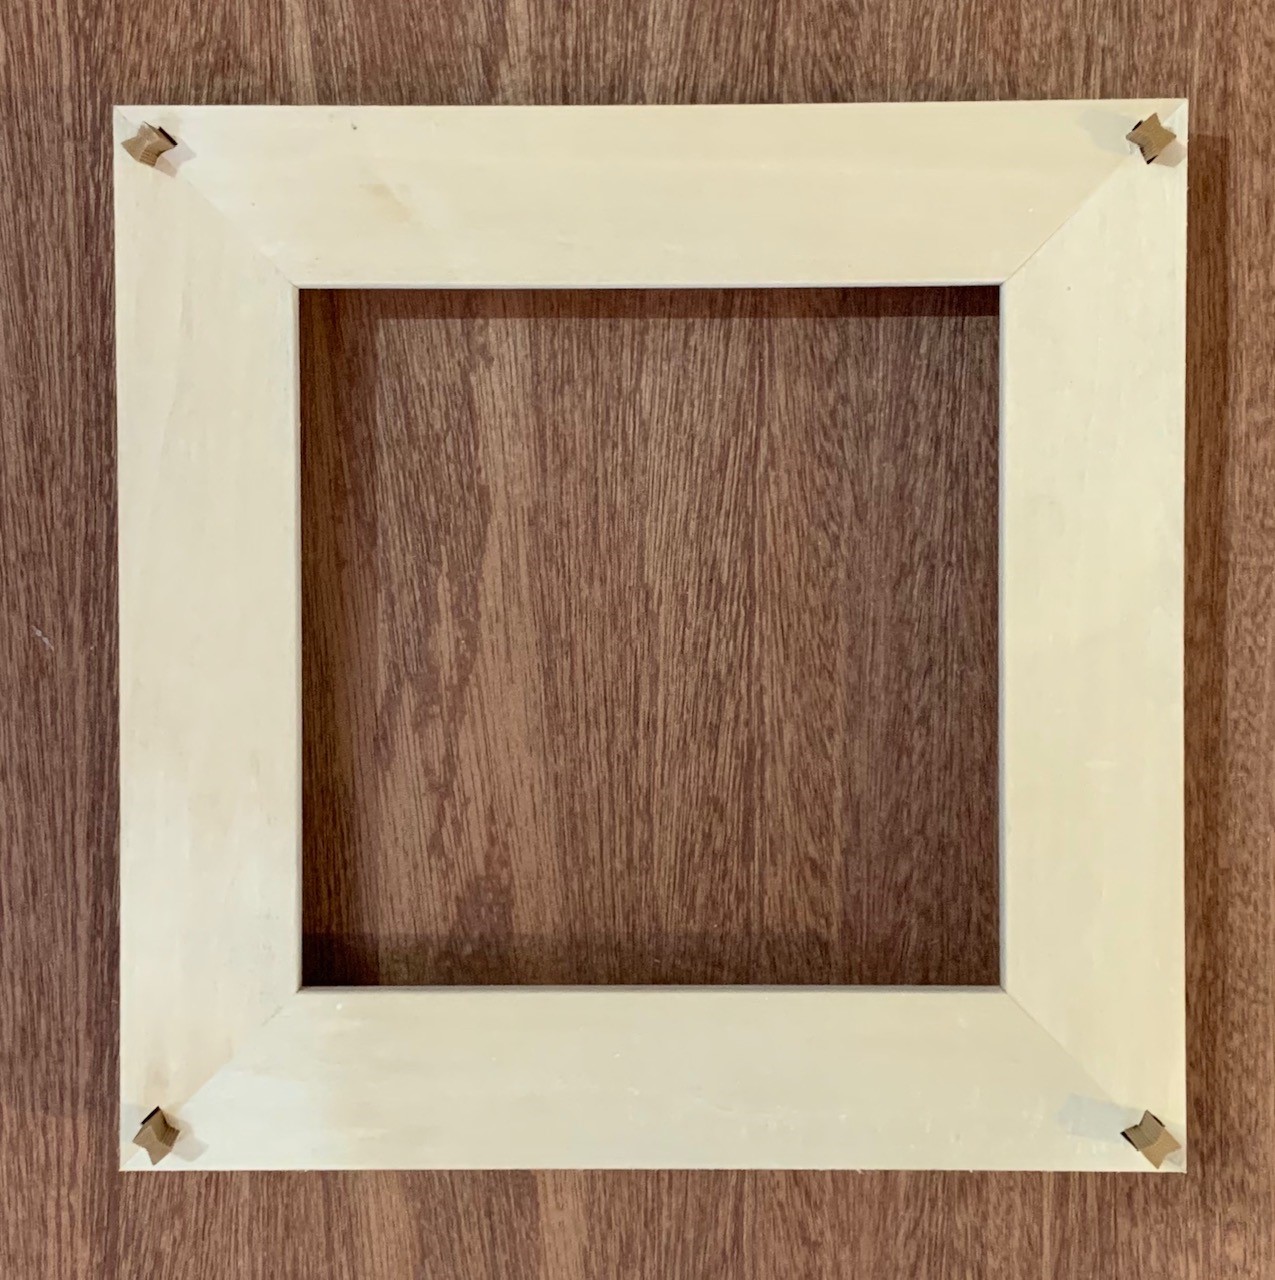
Assembled frame
Check again that the corners are together, the two sides are flush and that the joint is tight. Leave the frame for several hours for the glue to dry and then insert your canvas.
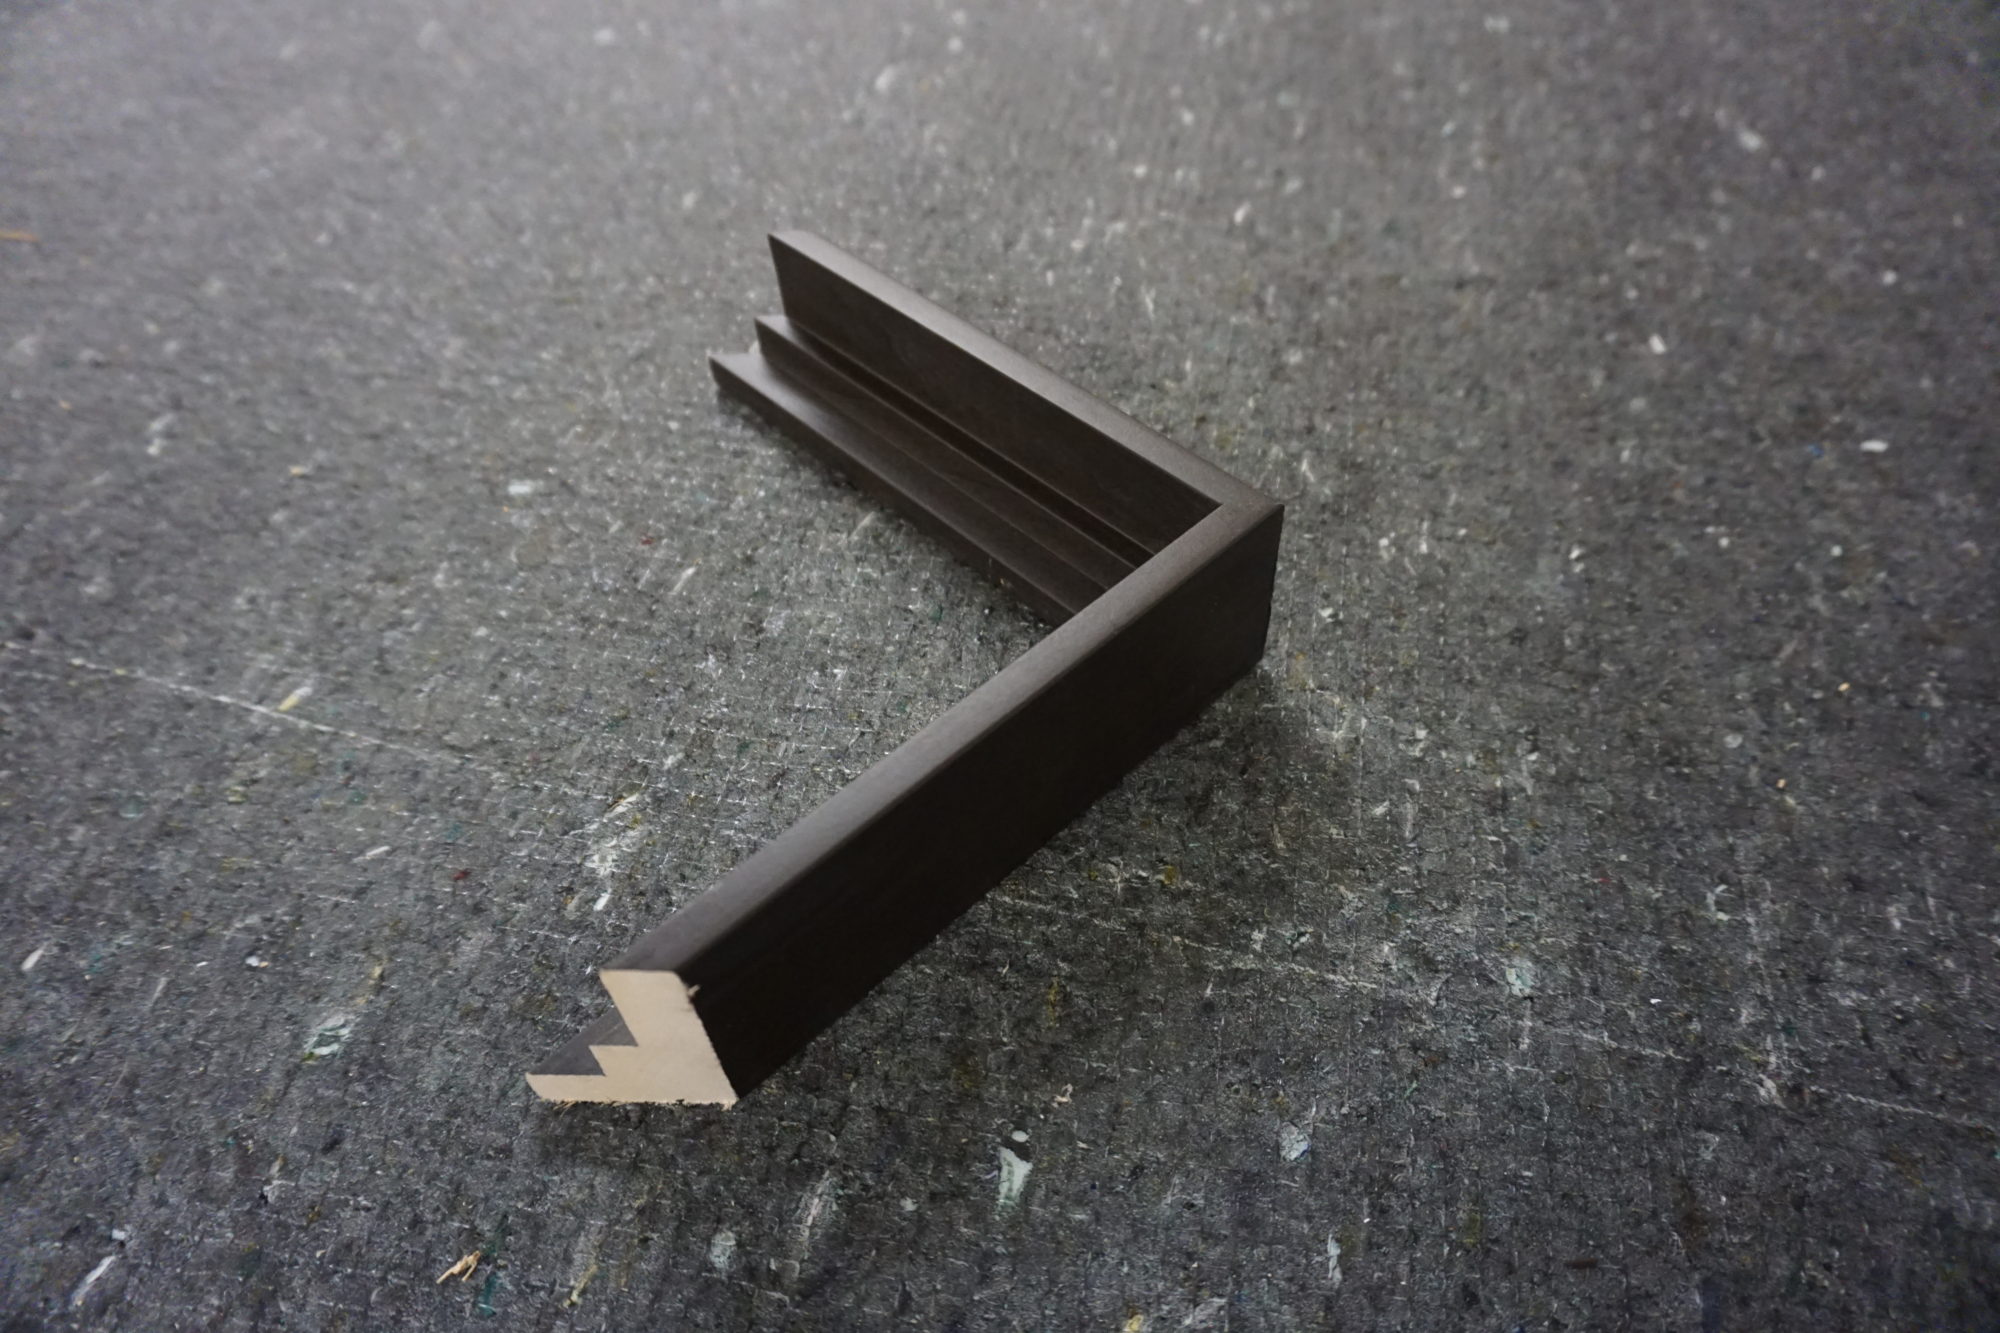
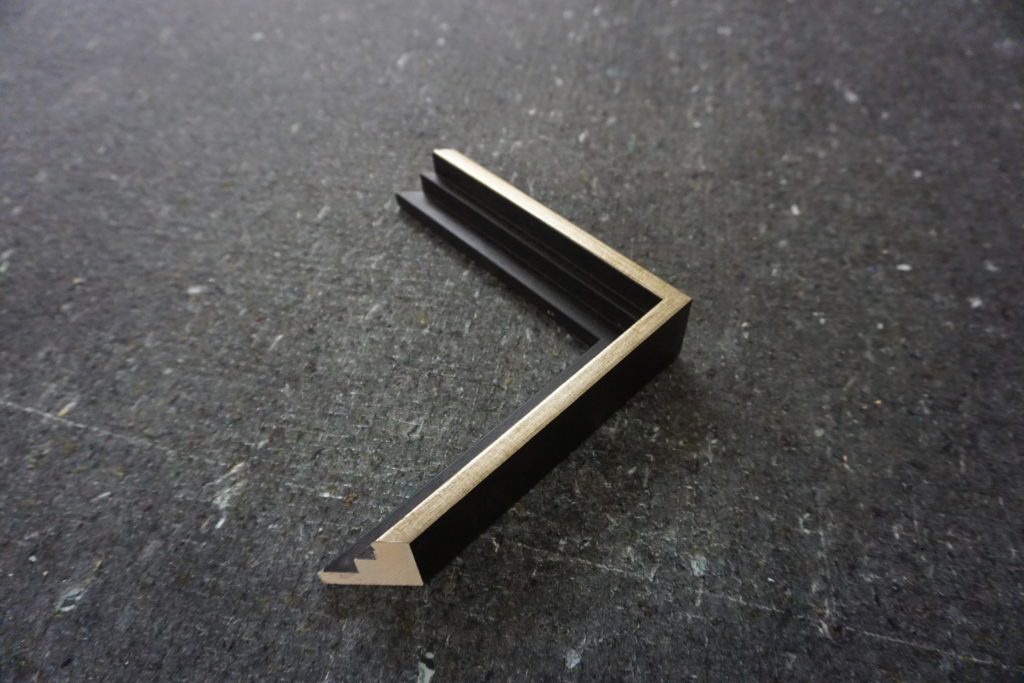
MT243-BLB-2 1/4 Floater
MT243-BLB-2 1/4 Floater

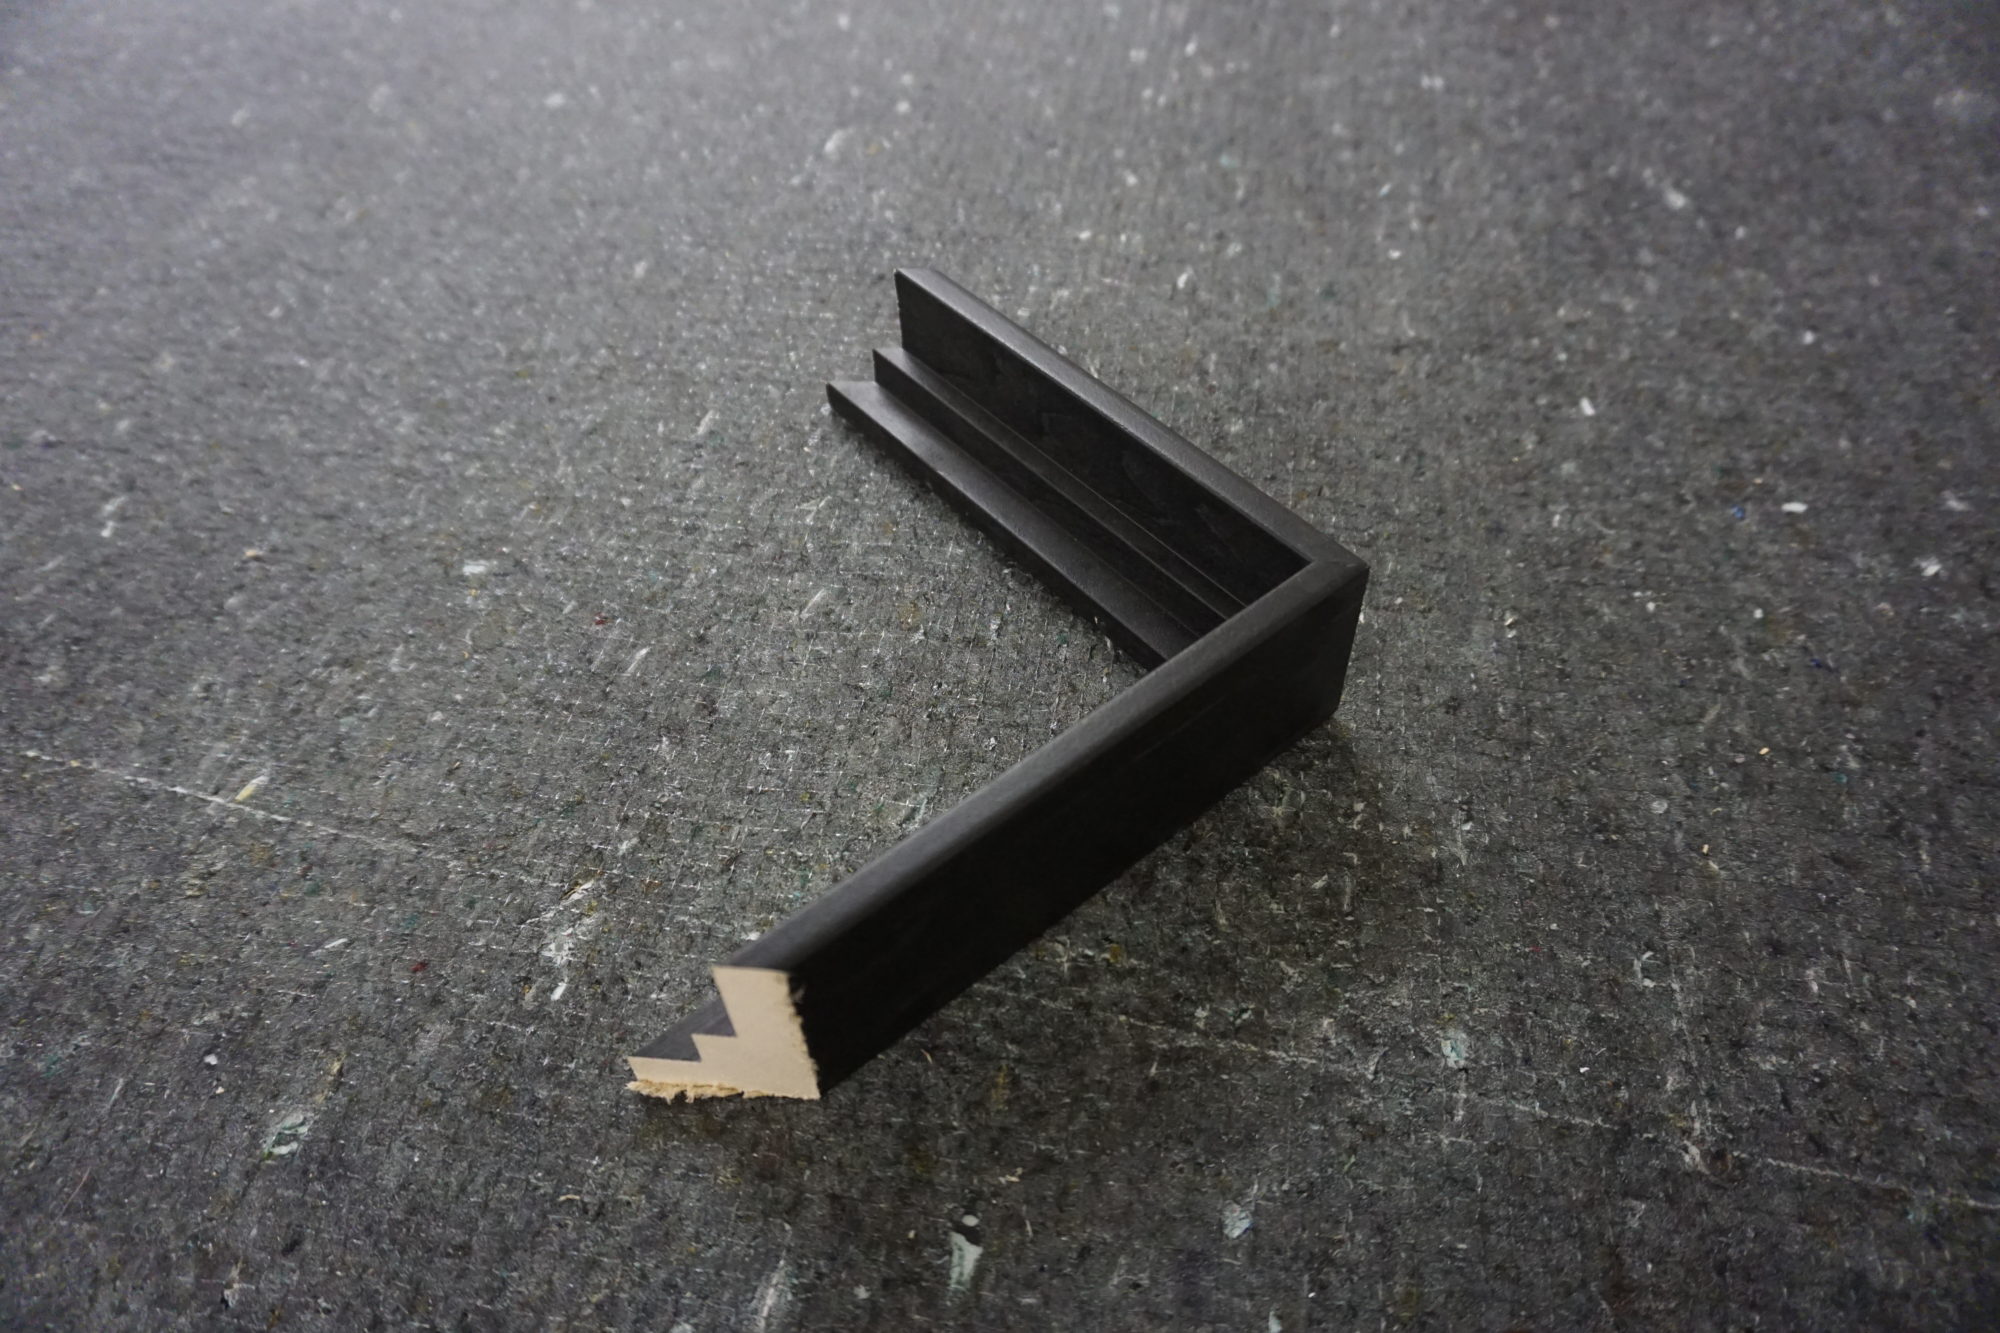
MT243-BL-1 1/2 Floater
MT243-BL-1 1/2 Floater
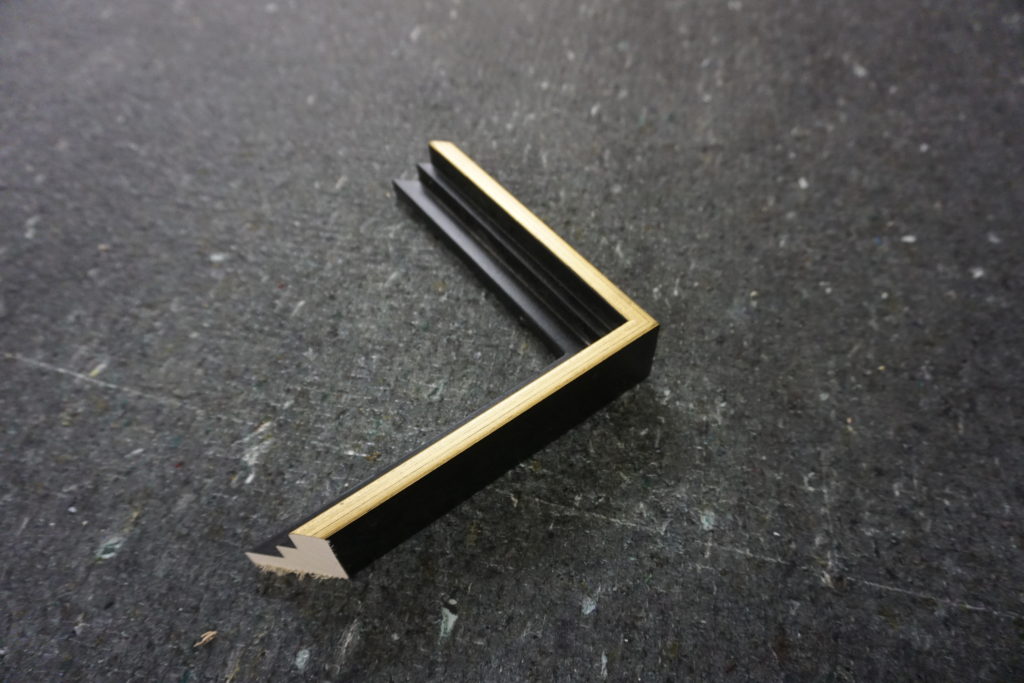
MT219-4D-2 Floater
MT219-4D-2 Floater
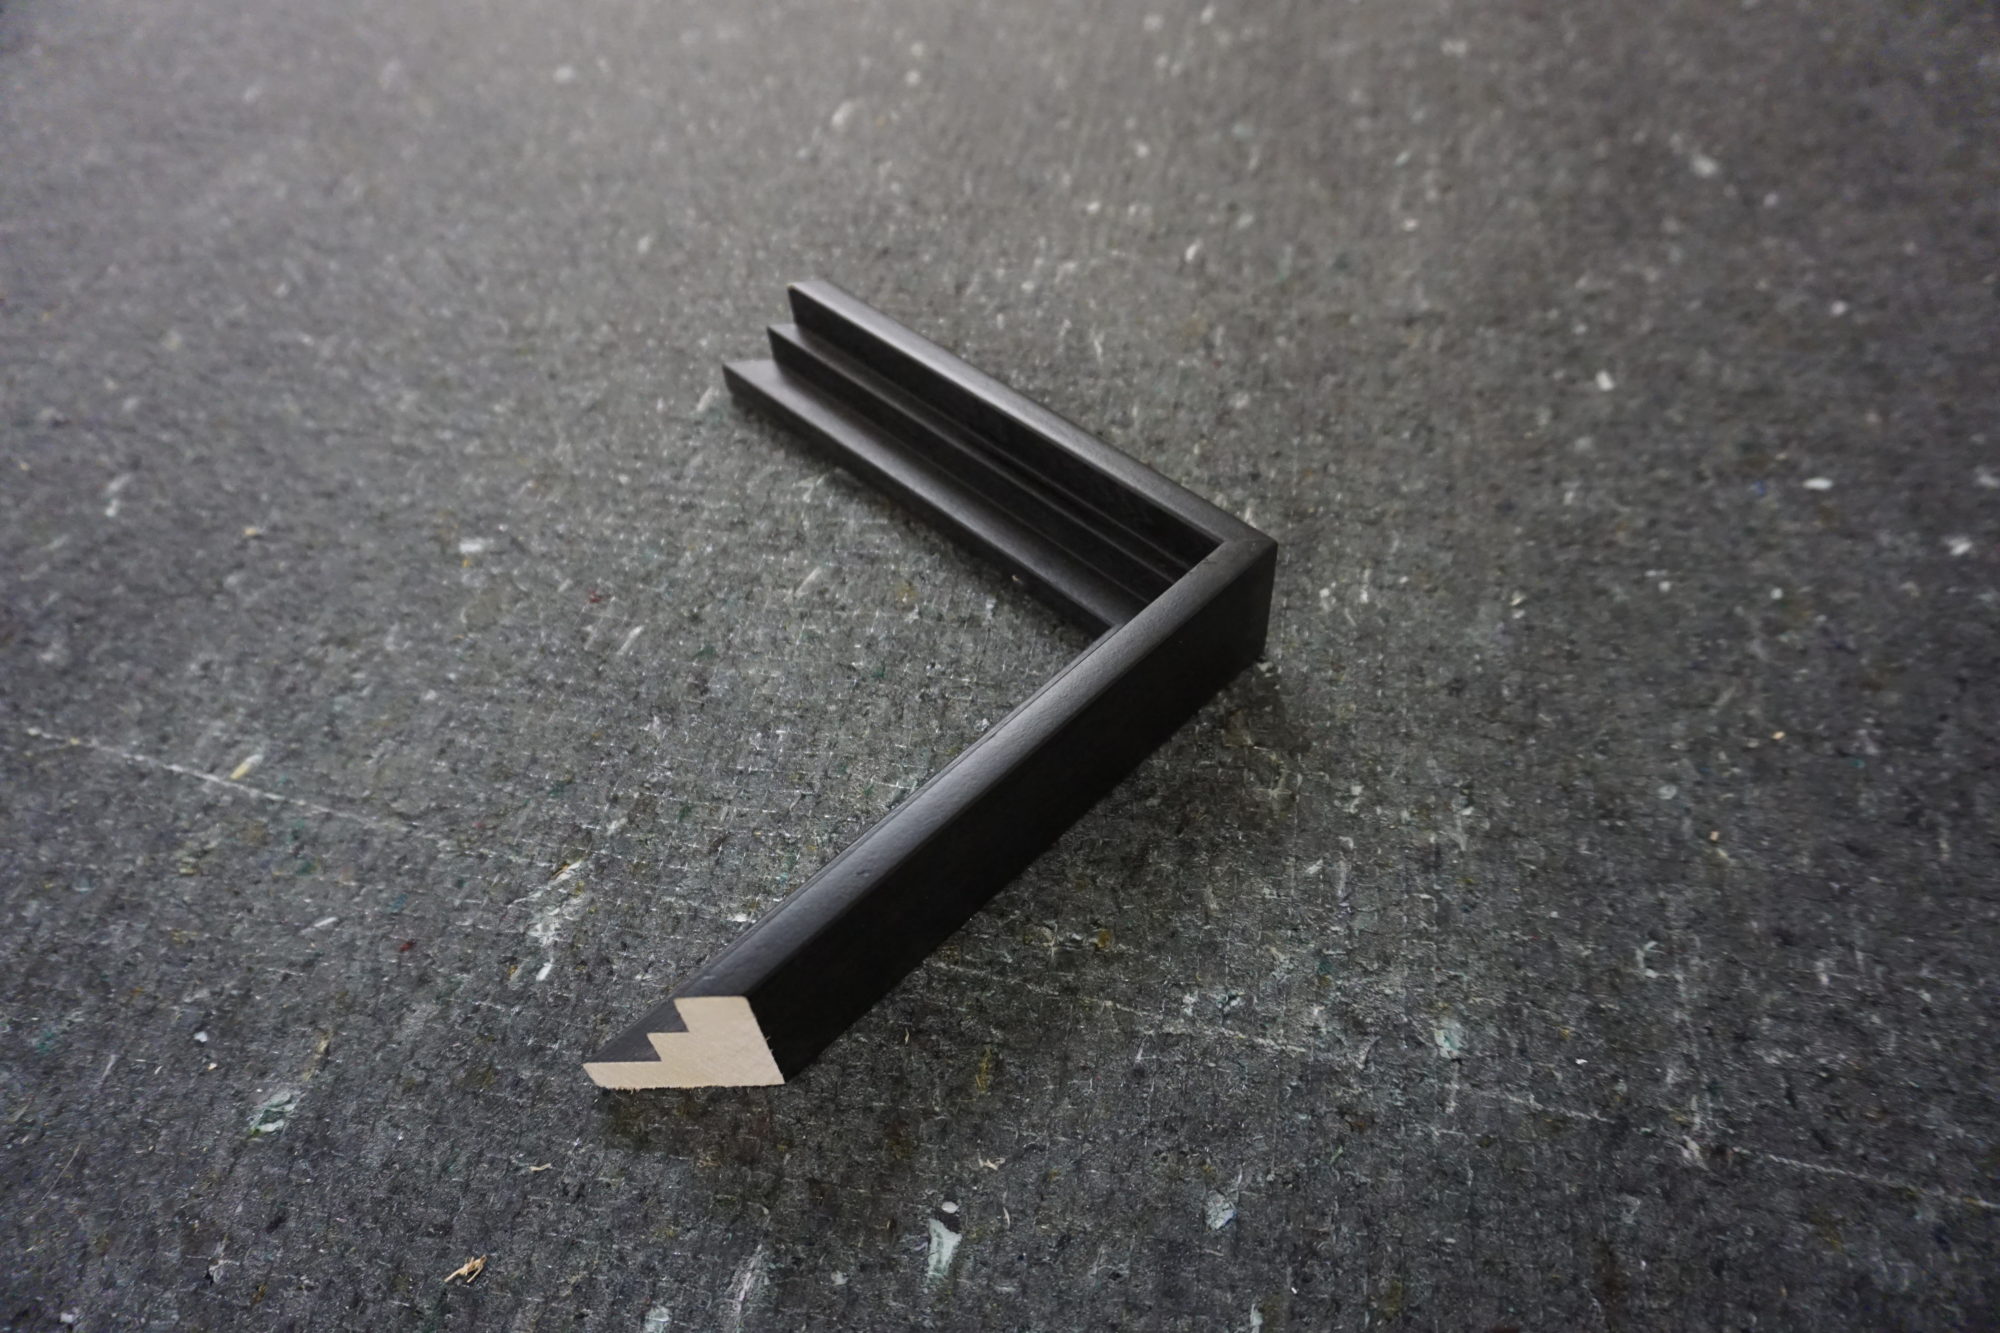
MT219-BL-2 Floater
MT219-BL-2 Floater
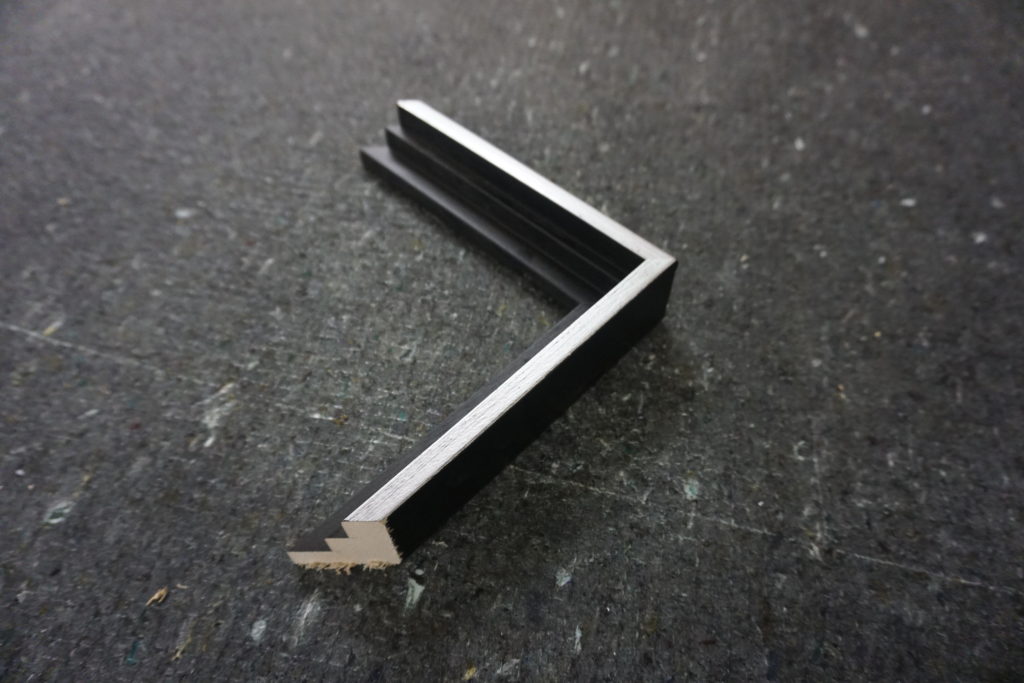
MT219-BL-1 1/2 Floater
MT219-BL-1 1/2 Floater
MT219-BLS-1 1/2 Floater
MT219-BLS-1 1/2 Floater
MT219-BLP-1 1/2 Floater
MT219-BLP-1 1/2 Floater
MT219-BLG-1 1/2 Floater
MT219-BLG-1 1/2 Floater
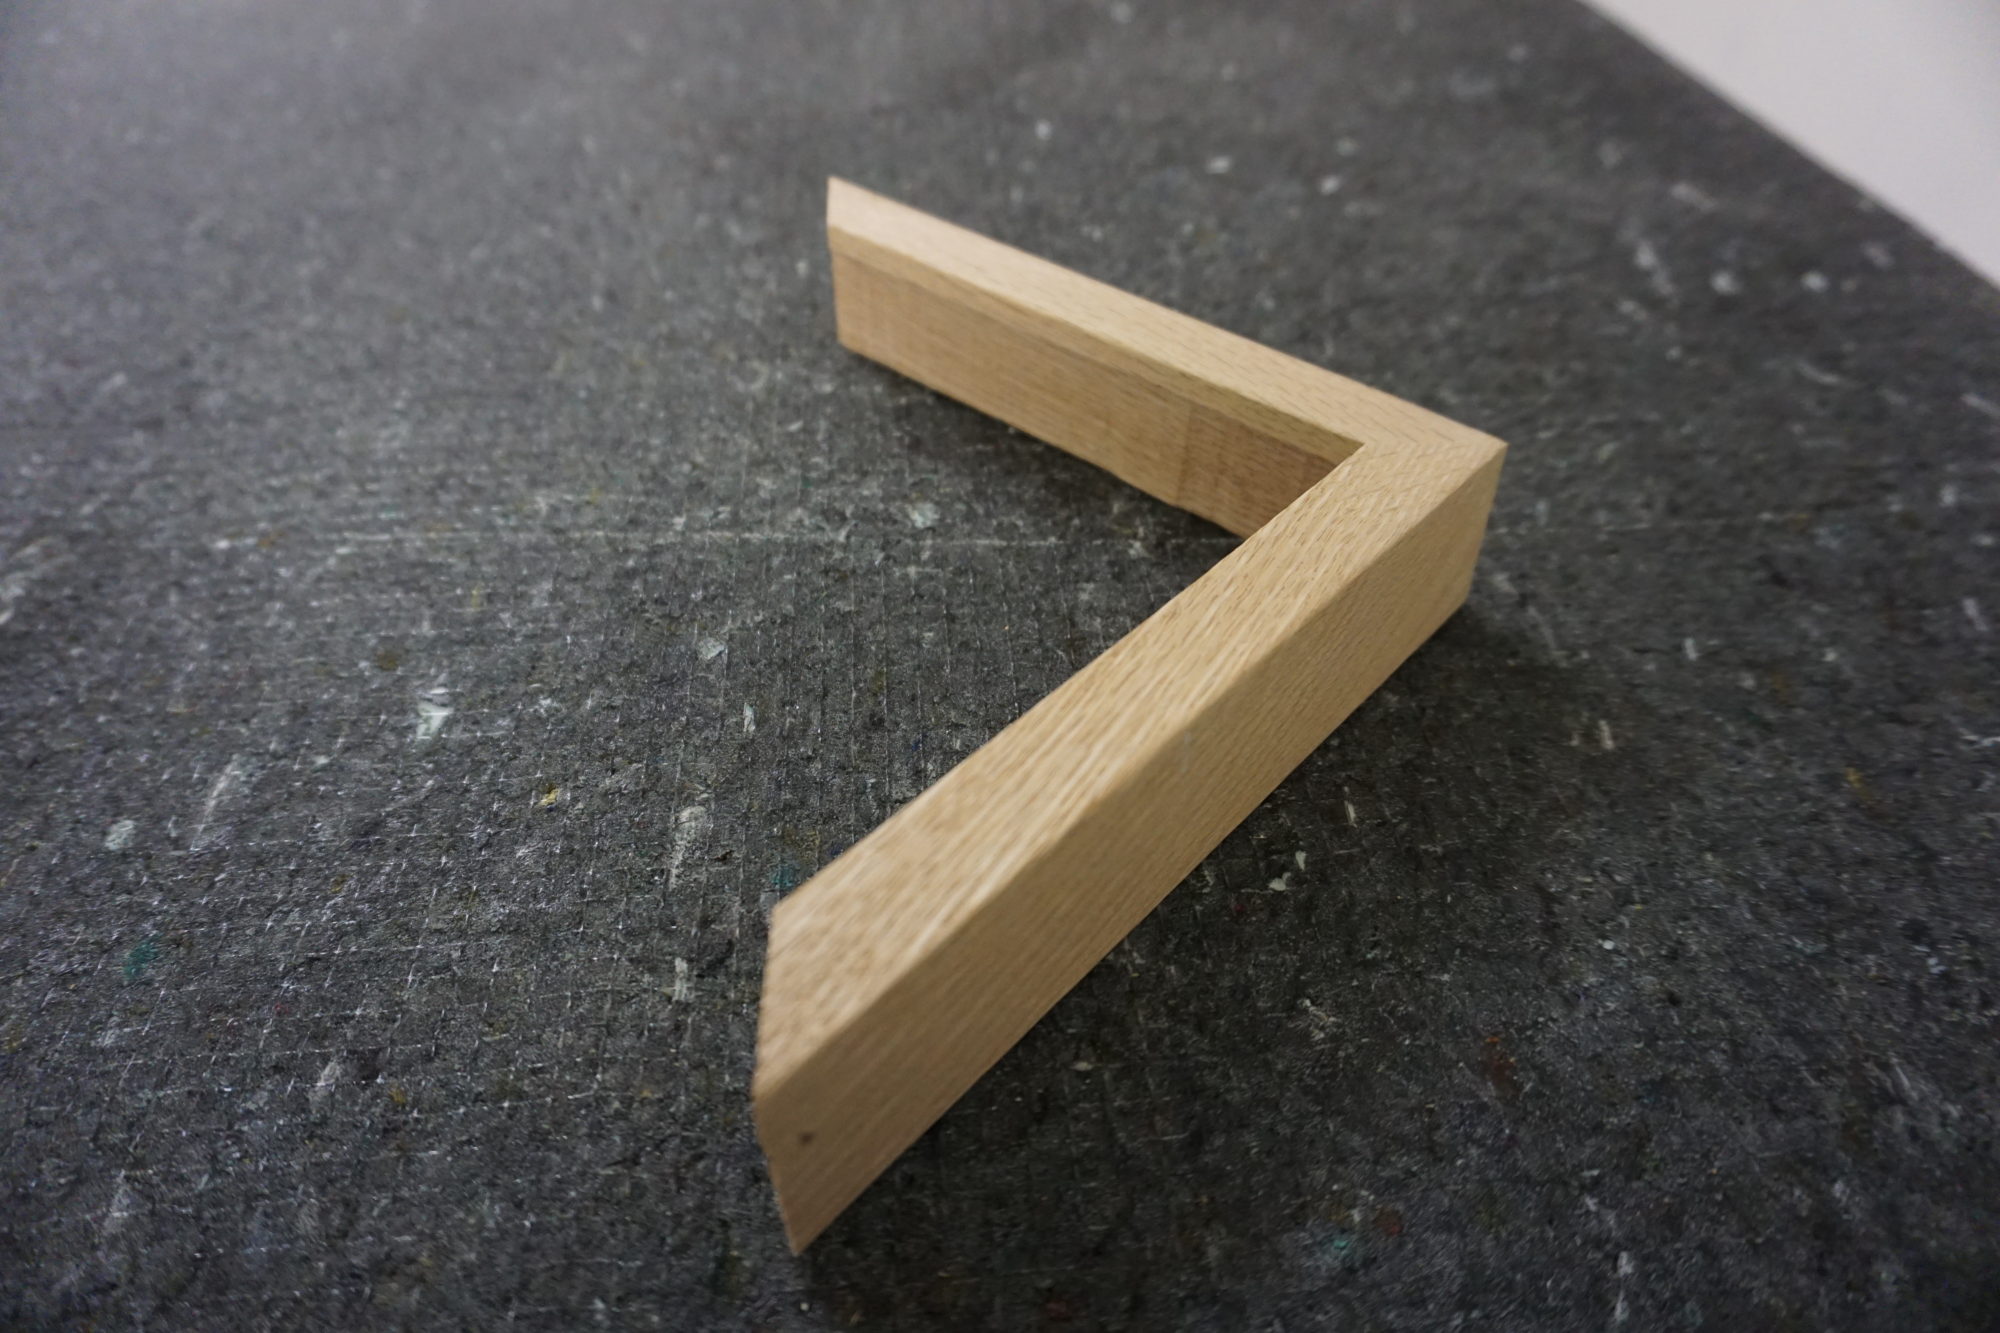
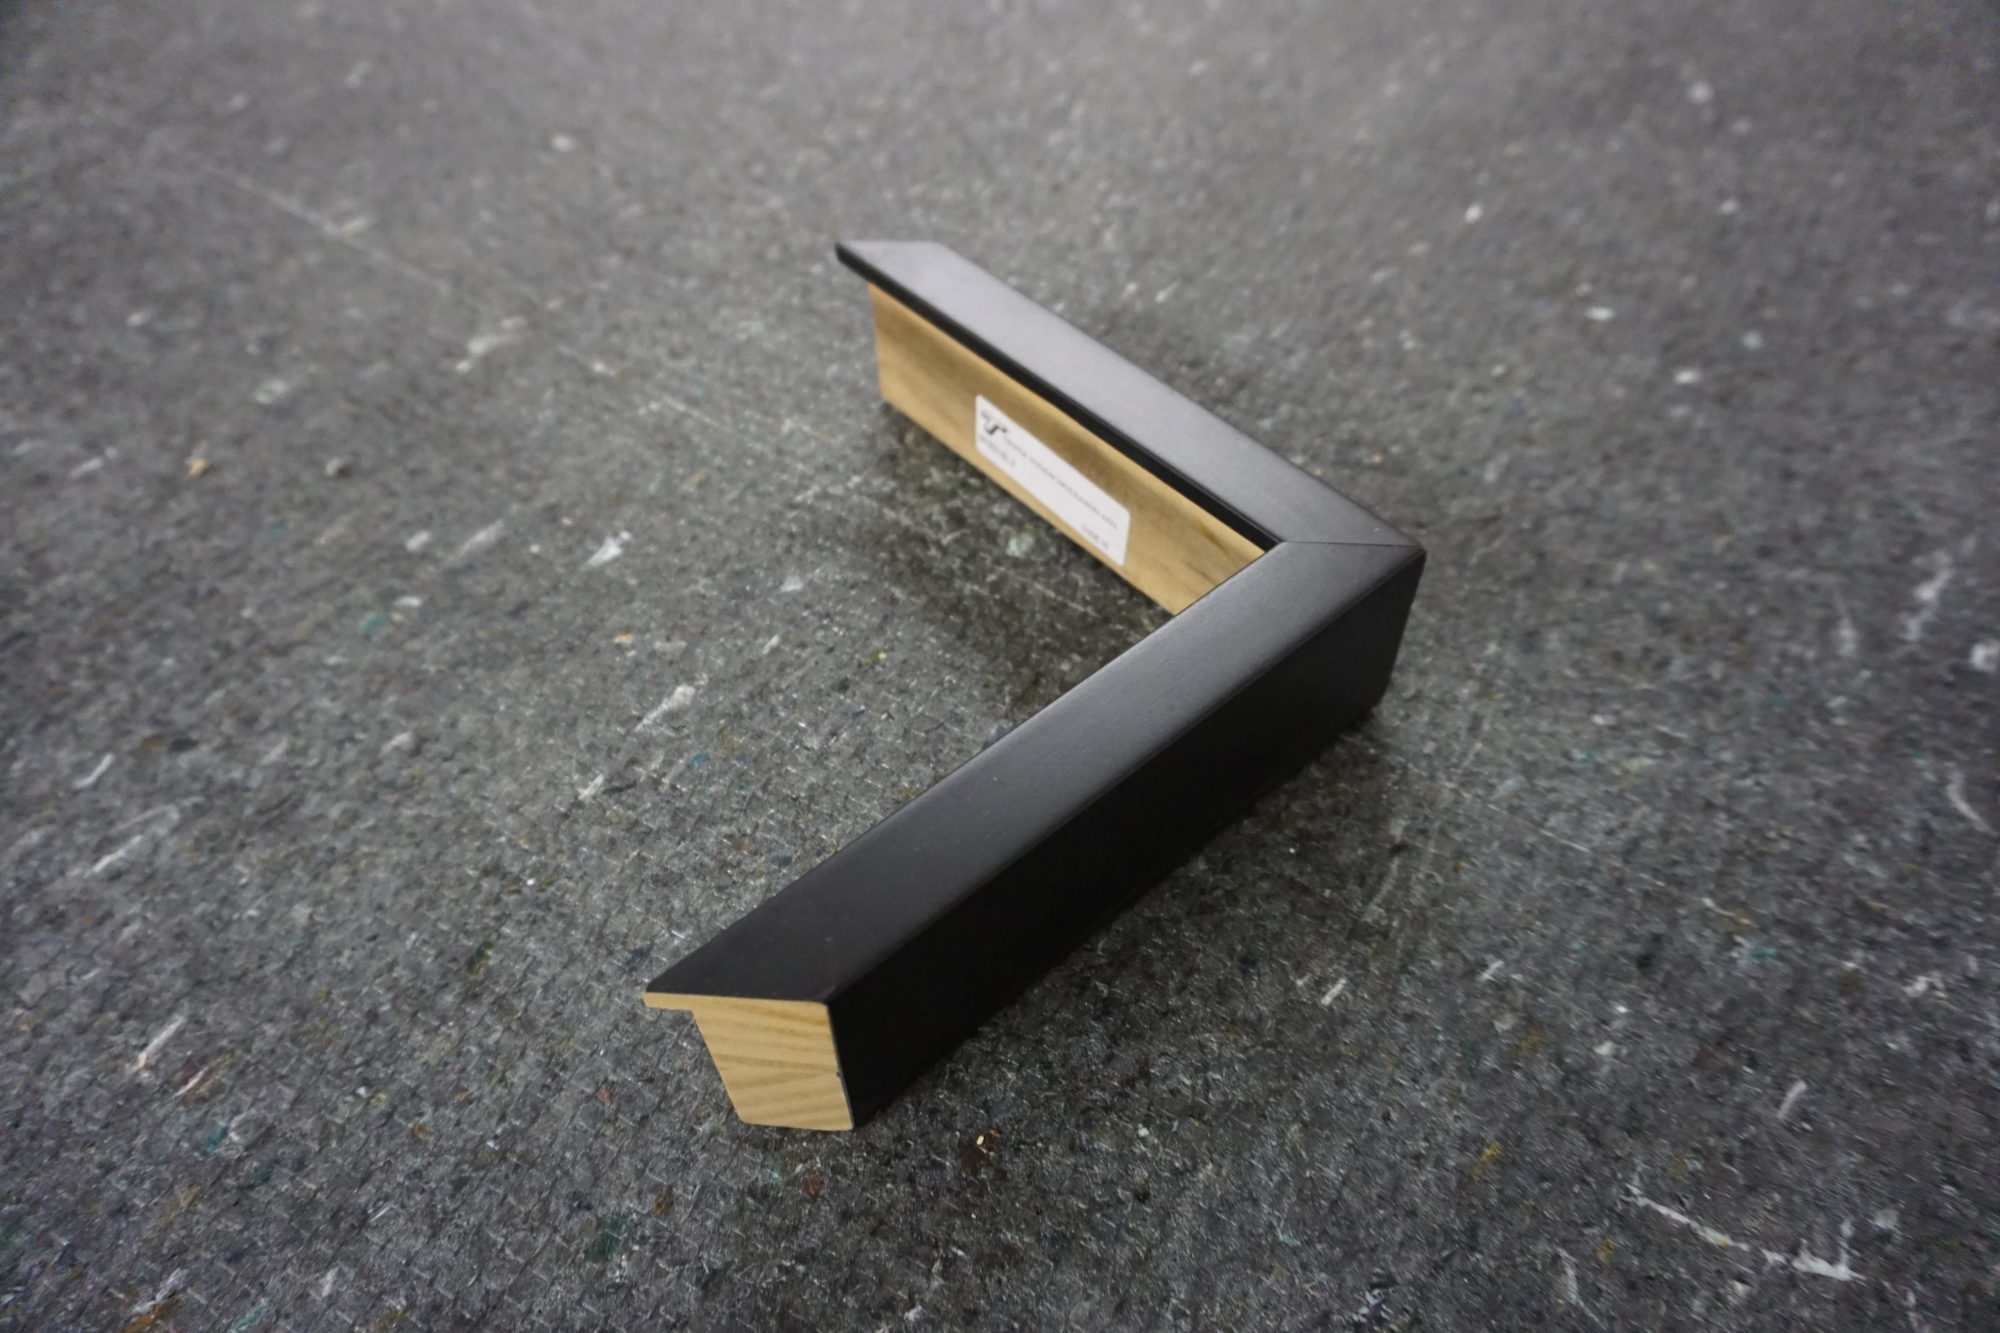
V136
Available in Ash, Cherry, Sapele, Maple, Oak, Walnut, Birch and Poplar
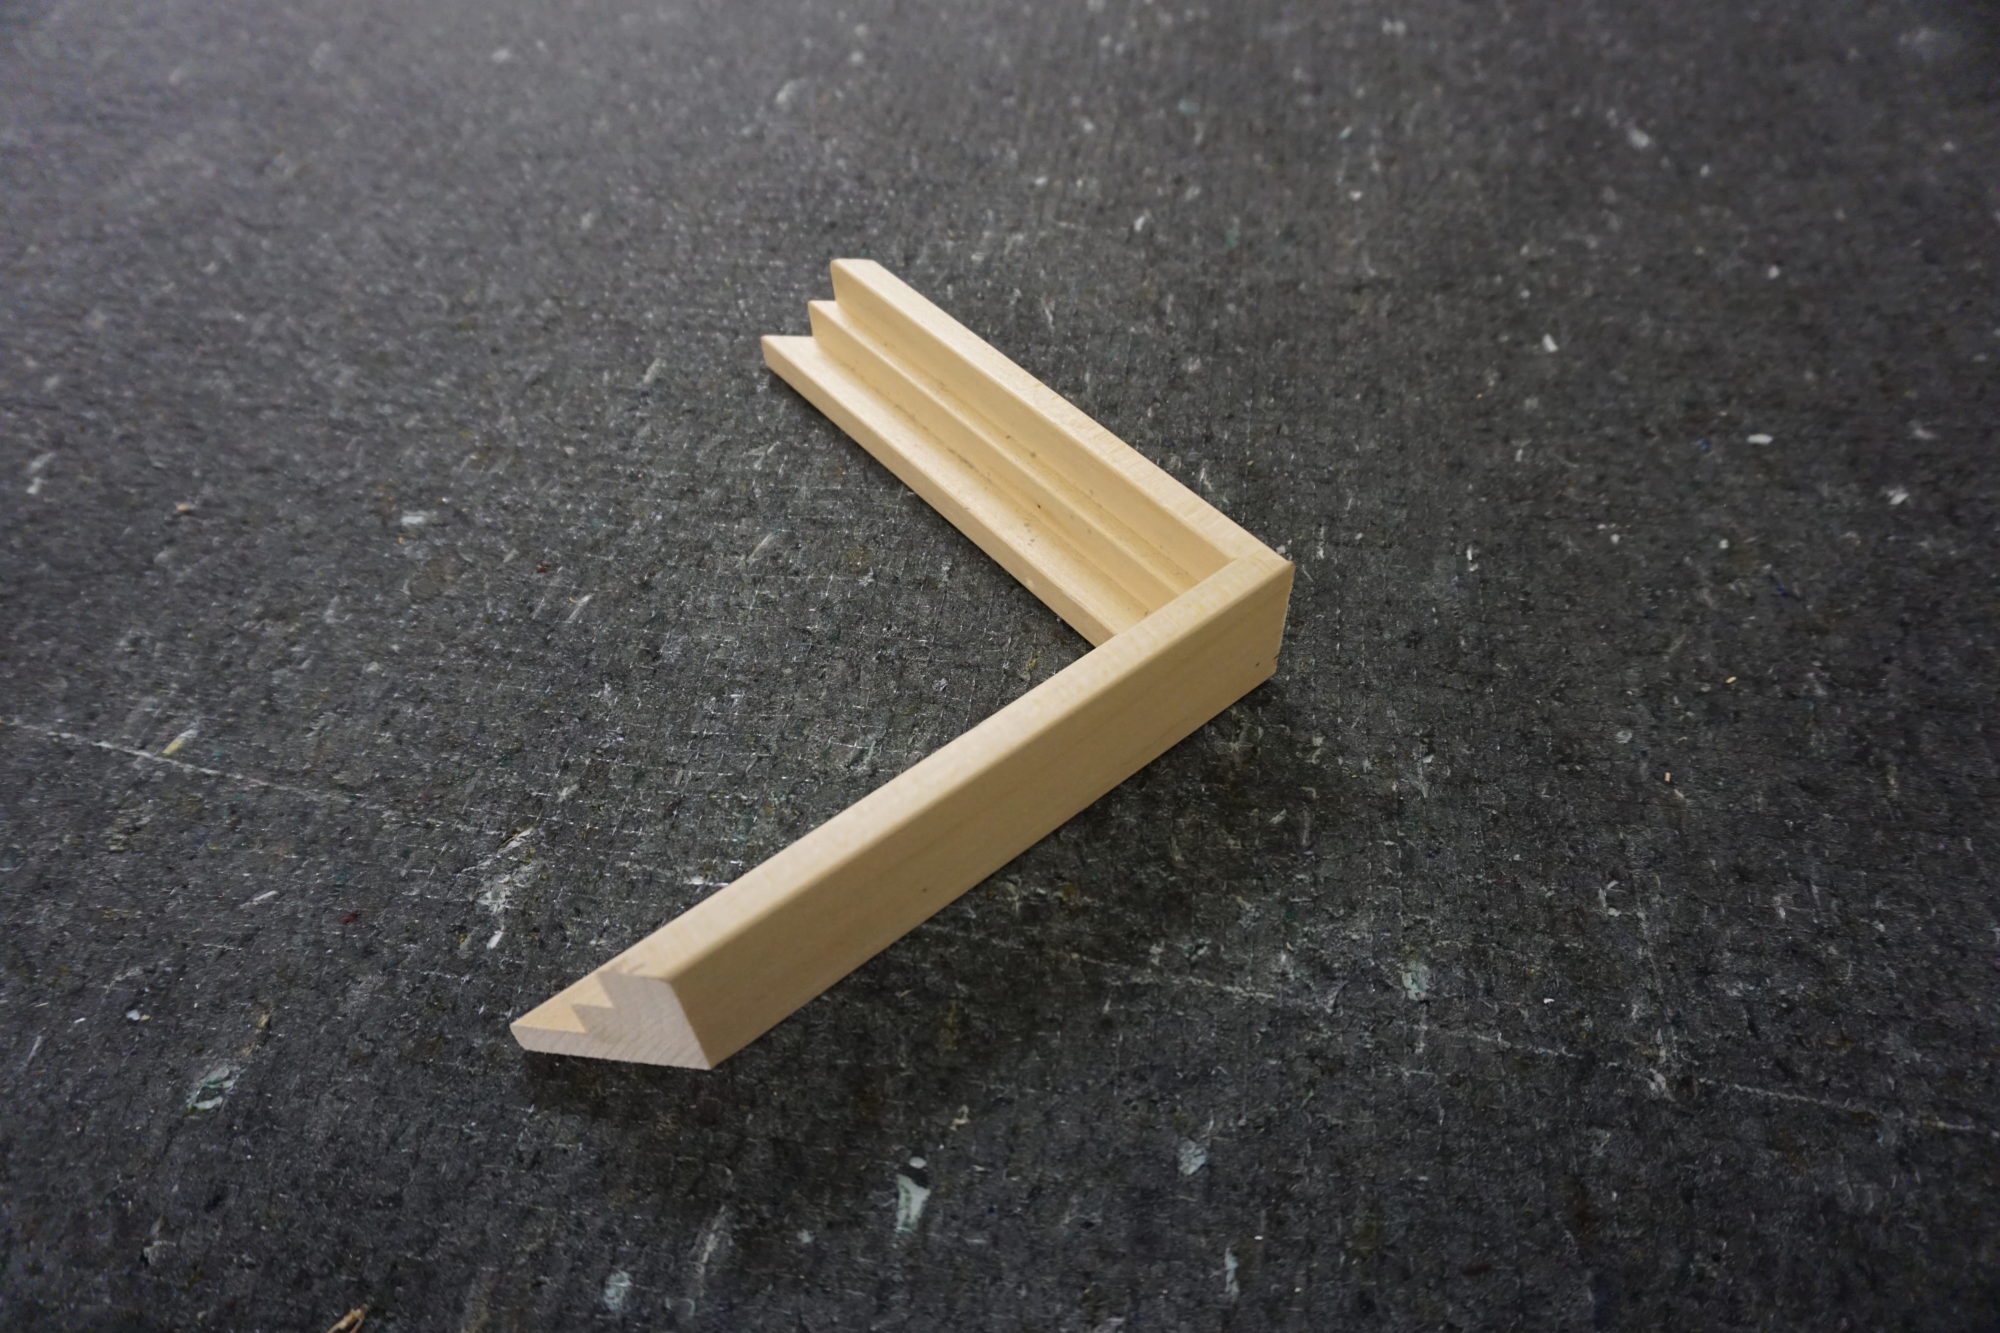
MT219-NAT-1 1/2 Floater
MT219-NAT-1 1/2 Floater
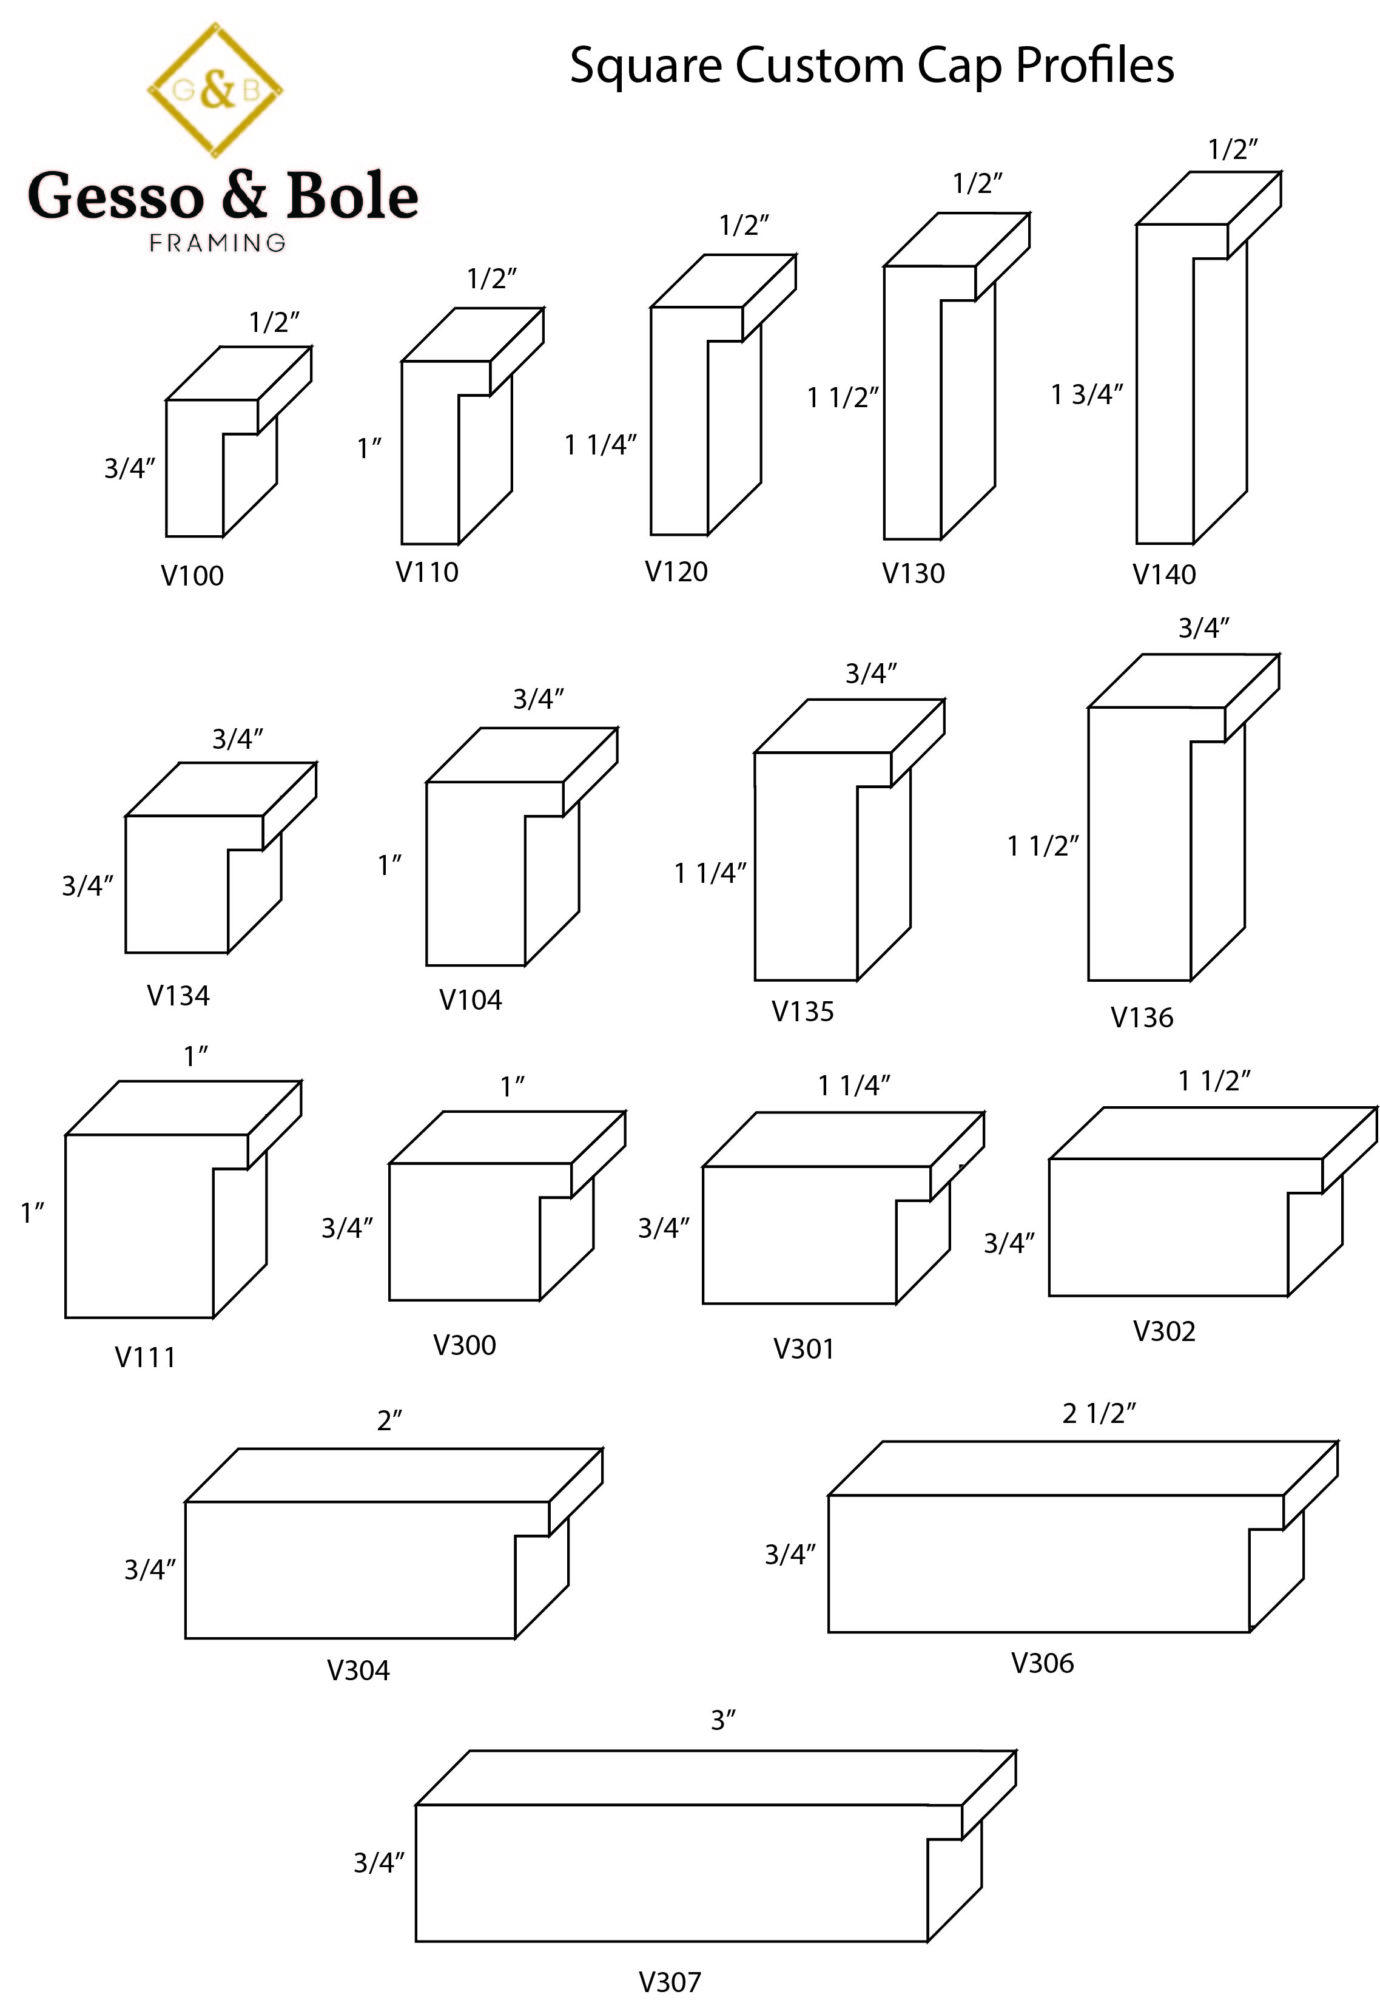
Custom Square Profiles
All available in Oak, Ash, Cherry, Walnut, Maple, Poplar, Pine, Sapele, Birch and Baltic Birch plywood. Other wood species available by special request.
MT603 BL-2
MT603 BL-2